For my final sewing class, Fitting and Alteration APD 345 through BYU-I, I altered men's and women's clothing and altered patterns to fit my body, while finally designing an outfit based on those altered patterns. Here is the process and the results!
Men's Ready-to-Wear Slacks Alterations:


Women's Ready-to-Wear Blouse Alterations:


Pant Slopers made for me:


Dress Slopers made for me:


Now on to the final design!
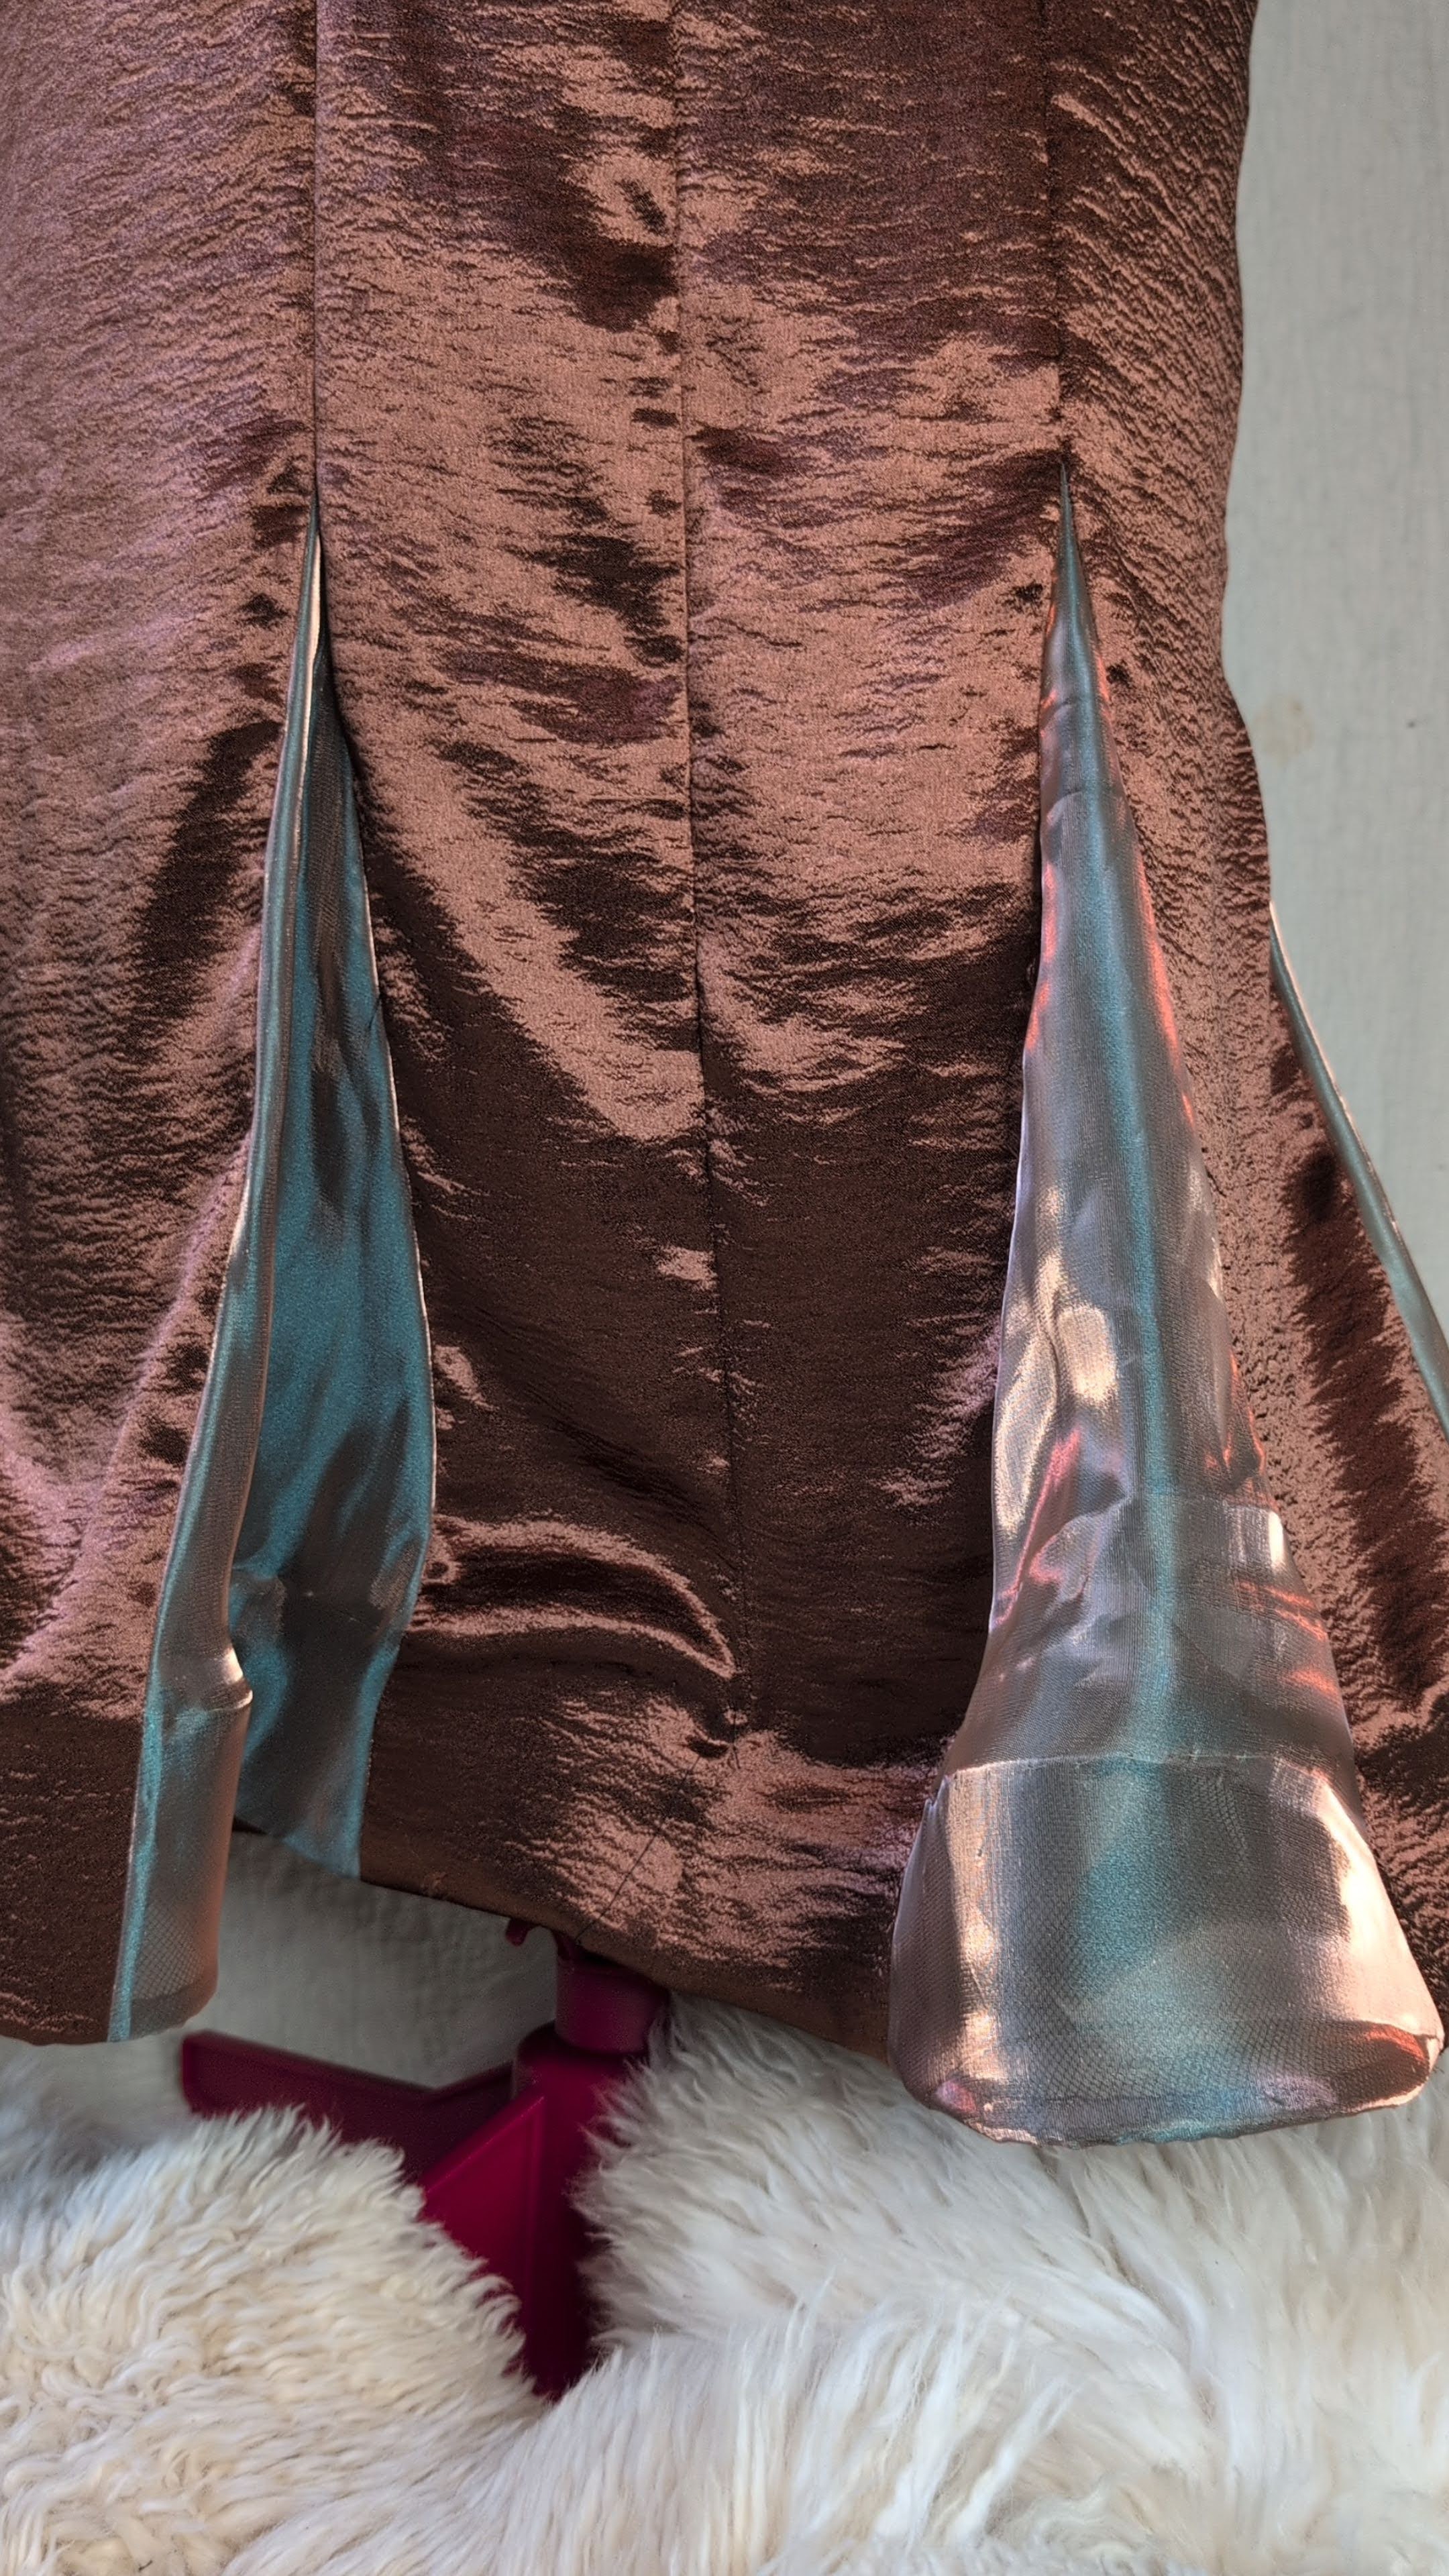
I was gifted some fabric for my birthday, and I didn't have a plan for it before this project. The brown is a textured, slightly stretchy, soft, satin, and the chiffon is a teal with a bronze cast that shows in some lighting and not in others.
I wanted to have a more fitted style with a fun flare at the knee, so I took inspiration from mermaid and trumpet style dresses.
Inspiration and design sketch:


Pattern design:


Flow Chart:
Dress:
• Cut fabric as needed
o Cut facing 1/8” smaller than the pattern
o Cut interfacing for facing and modesty panel
Iron onto facing and modesty pieces
• Mark notches
• Sew darts – iron
• Stay stitch front and back neck
Use ¼ inch French seam for seam allowances
• Sew godet to front skirt
o Sew front side to front
• Sew godet to front side
o Sew back side to front side
• Sew godet to back side
o Sew the back to the back side
• Sew shoulder seams
• Iron all seams with a pressing cloth
o The back is still open at this point
Back of the dress:
• Sew modesty panel – leaving a space open to turn right side out
o Grade, clip, and iron seams
o Flip right side out
o Top stitch – close the opening
• Create corset loops
o Sew fabric strips right sides together with ¼” seam allowance – turn and iron
o Start 1 inch above the bottom edge and end 1/2 inch from the top edge.
o Fold the lacing in a series of V shapes and clip to the edge of the lacing panel fabric
o Baste with a 3/8-inch-wide seam allowance
Grade for dress shape
o Sew again - 5/8” inch away from basting line to create boning pocket
Trim excess fabric
Insert boning and baste closed at top and bottom
o Repeat for the other side
• Sew facing
o Stay stitch the necklines
o Sew together at sides and shoulder
o Finish raw edges with rolled hem or zig-zag stitch
• Sew facing to dress at neck and back
o Insert lacing panel in-between facing and back of dress
Take care to keep the loops free
o Under stitch at the neckline and the back of the dress
• Clip corners, turn and iron
• Insert 9” invisible zipper below the corset loops and finish back seam
Sleeve:
• Sew a rolled hem on the sleeve
o Hand sew the inverted box pleats ½” inch overlap (1” inch total on each side) at the cuff of the sleeve
• Sew 2 gathering stitches along the cap of the sleeve – make sure to lengthen and loosen the stitch
• Reset the stitch settings
• Sew a French seam at the arm closure – Clip and iron with pressing cloth
• Gather the cap of the sleeve to fit into the bodice
• Set cap into the dress
o Pin
o Sew – matching notches and gathering to fit
o Press toward the sleeve for maximum puff height with pressing cloth
o Finish with a French seam
Finish the dress:
• Hang overnight and finish bottom hem with horsehair
• Tack down any facing that is moving
o Arm
o Back
o Below the lacing
• Insert lacing ribbon
Final Dress!